
Oh, the magic of homemade sweetened condensed milk! There’s something truly special about creating this rich, creamy elixir right in your own kitchen. It’s the secret ingredient that transforms so many beloved desserts, from no-bake cheesecakes to decadent fudge, lending that signature velvety texture and deep, caramel-like sweetness we all adore. You’ll be amazed at how simple it is to achieve this lusciousness with just a couple of pantry staples.
I remember my grandmother always saying that the best ingredients were often the simplest. She’d spend hours patiently stirring, her kitchen filled with the scent of simmering milk and sugar, teaching me that good things take time and a whole lot of love. Learning to make my own sweetened condensed milk from scratch feels like carrying on her legacy, infusing every dessert with that same homemade warmth.
This recipe isn’t just easy to bake; it’s incredibly rewarding, opening up a world of dessert possibilities and making every treat feel extra special and family-friendly. My top tip for this is always to embrace the process—it’s a labor of love that pays off in the most delicious ways!
What You Need to Make This Recipe
Crafting your own creamy, dreamy milk – sweetened condensed milk at home requires surprisingly few ingredients, each playing a crucial role in developing that perfect texture and flavor. Whole milk provides the essential richness, while granulated sugar brings the sweetness. I always believe in using the best quality ingredients you have on hand, as their natural goodness truly shines through in the final product. You’ll find the full list of ingredients and precise measurements in the recipe card below.
How to Make Milk – Sweetened Condensed Milk
Making your own Milk – Sweetened Condensed Milk is a delightful journey of transformation, turning simple ingredients into a luxurious, thick syrup. It primarily involves gently simmering whole milk and sugar until the liquid reduces and thickens beautifully. Patience is your best friend here, as the slow reduction process concentrates the flavors and creates that signature velvety texture we all adore, perfect for countless dessert recipes.
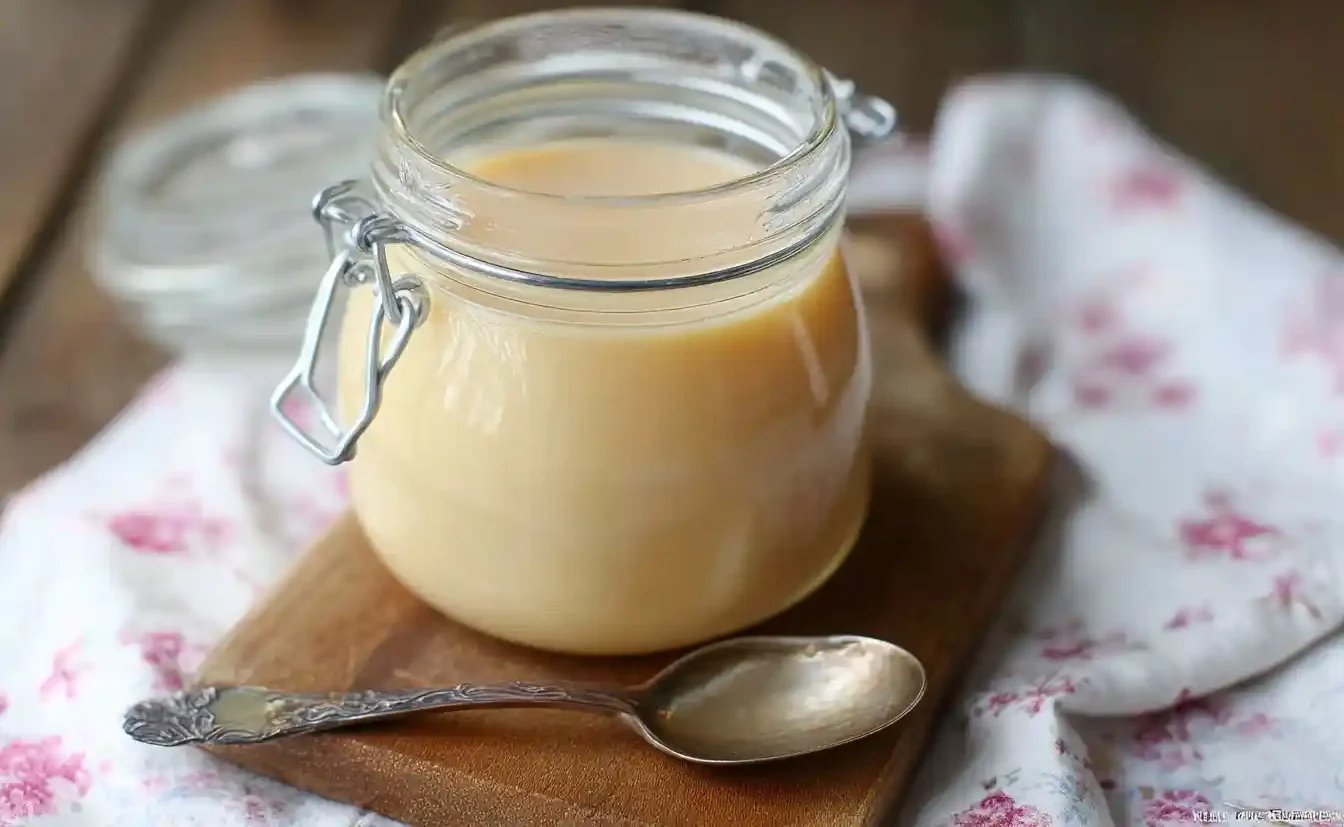
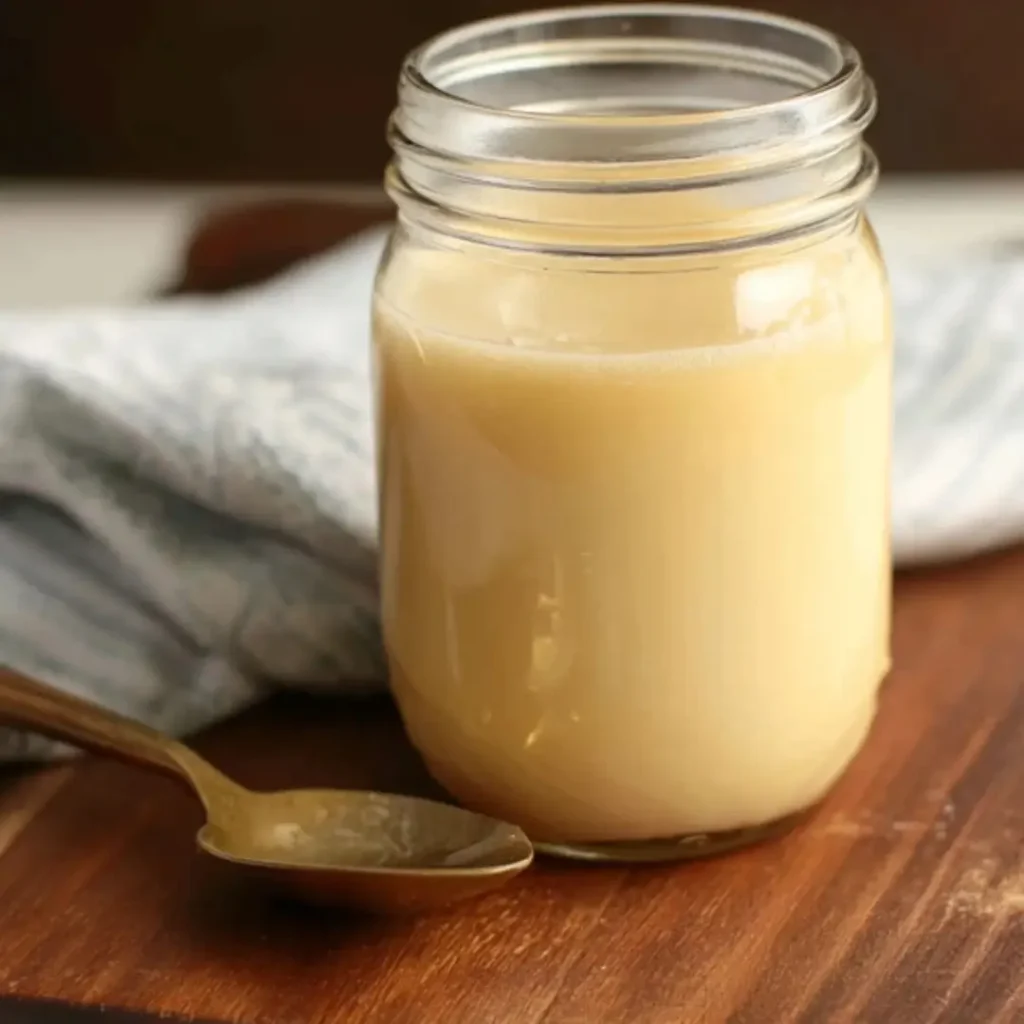
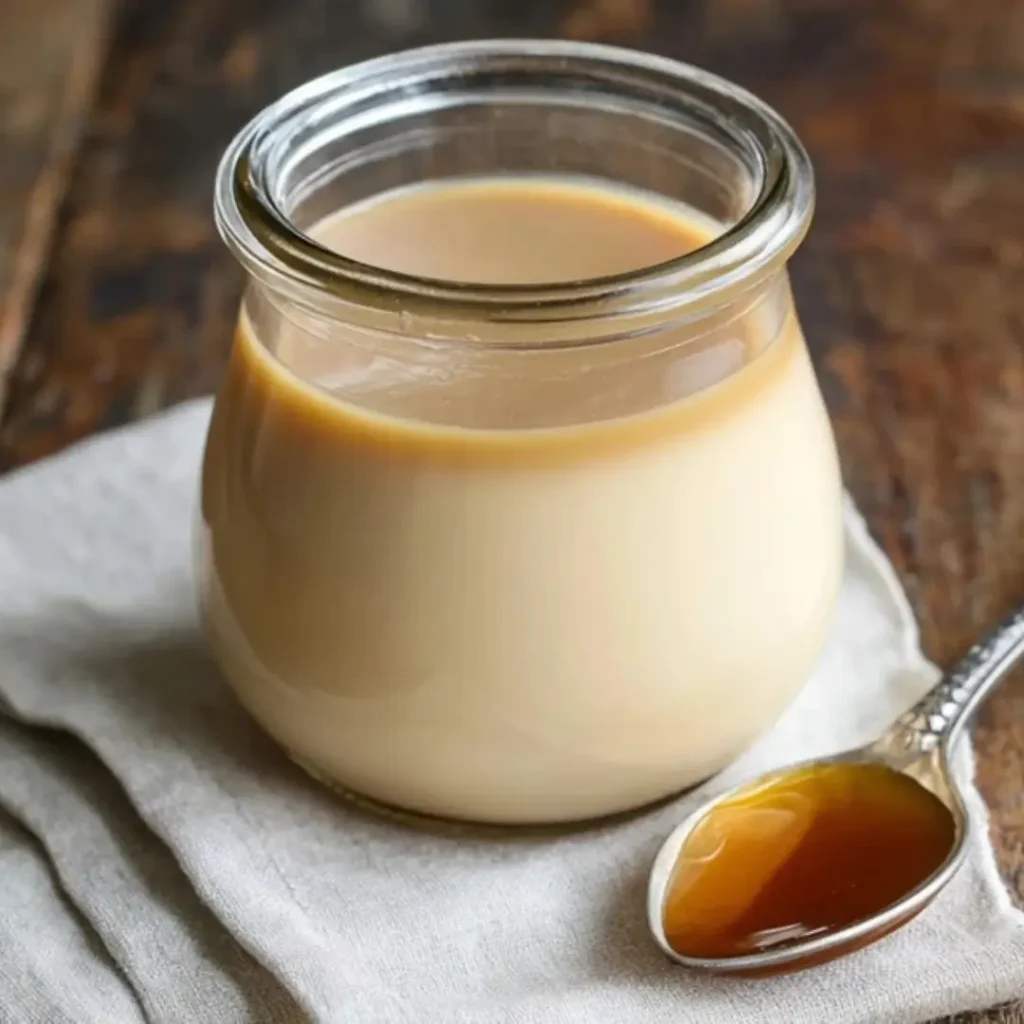
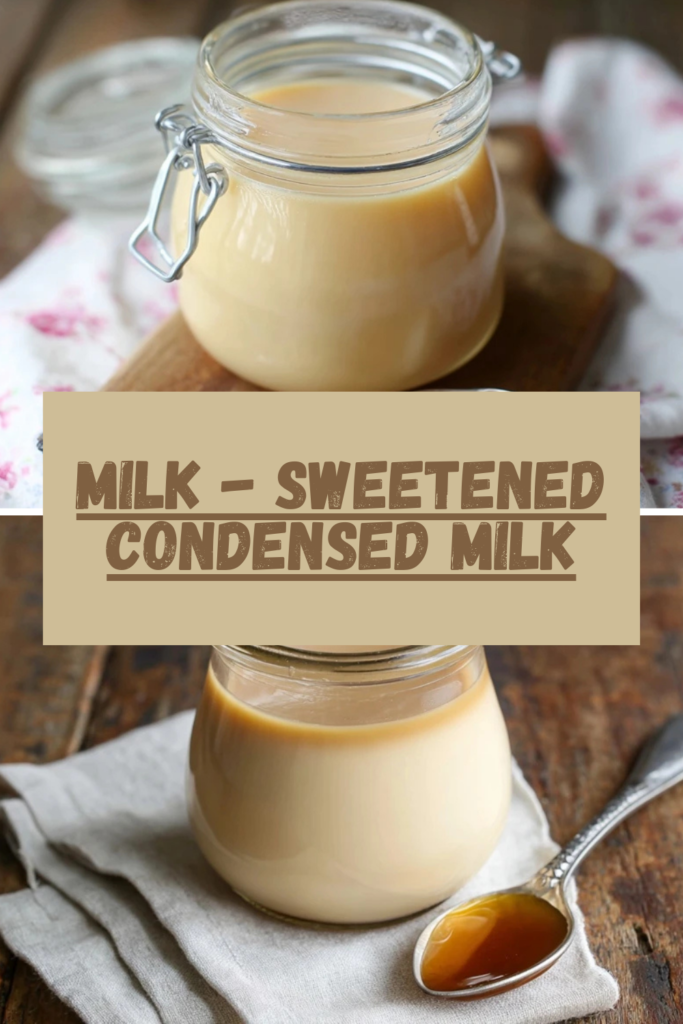
Homemade Sweetened Condensed Milk
Ingredients
Equipment
Method
- In a large, heavy-bottomed saucepan, combine the whole milk, granulated sugar, unsalted butter (if using), and salt.
- Place the saucepan over medium heat. Whisk continuously until the sugar is completely dissolved and the butter has melted, ensuring the milk doesn’t scorch at the bottom. Bring the mixture to a gentle boil.
- Once boiling, reduce the heat to low-medium to maintain a gentle simmer. Cook uncovered for 40-50 minutes, stirring frequently (every 5-10 minutes, and more often towards the end) to prevent scorching and to ensure even reduction.
- The mixture will gradually thicken and turn a pale ivory color. It should reduce by approximately half to two-thirds of its original volume (down to about 1.5 to 2 cups). To test, dip a spoon into the milk; it should coat the back of the spoon and leave a clear trail when a finger is drawn across it.
- Remove the saucepan from the heat. If using, stir in the vanilla extract.
- Pour the hot sweetened condensed milk into a clean, heat-proof jar or container. Let it cool completely to room temperature before covering tightly. It will thicken further as it cools. Store in the refrigerator.
Notes
Troubleshooting: If your milk doesn’t seem to be thickening, increase the heat slightly to maintain a more vigorous simmer, but be extra diligent with stirring to prevent burning.
Uses: Use your homemade sweetened condensed milk in coffee, tea, desserts like no-bake cheesecakes, fudge, ice cream, or as a drizzle for fruit and pancakes.
Preventing Skin Formation: To prevent a skin from forming on top as it cools, you can place a piece of plastic wrap directly on the surface of the milk.
Pro Tips for Making This Milk – Sweetened Condensed Milk
Baking, for me, has always been about learning, experimenting, and finding those little tricks that make all the difference. When it comes to making your own Milk – Sweetened Condensed Milk, these tips from my kitchen will help you achieve perfection every time.
- Patience is Key: Don’t rush the simmering process. It takes time for the milk to reduce and thicken properly. Keep the heat at a gentle simmer; too high, and it might scorch. Low and slow is the secret to that beautiful caramelization and creamy consistency.
- Stir Often, But Not Constantly: While you don’t need to stir every second, frequent stirring (especially as it thickens) prevents the milk from sticking to the bottom of the pot and burning. This ensures a smooth, even reduction.
- Use a Heavy-Bottomed Pot: A thick, heavy-bottomed saucepan distributes heat more evenly, which is crucial for preventing scorching and achieving a consistent simmer without hot spots. It’s an investment that truly pays off in the long run for any home baker.
- My Secret Trick: I always keep a close eye on the color. As the milk reduces, it will gradually deepen to a lovely off-white or light ivory hue, signaling that it’s concentrating beautifully. Don’t let it get too dark unless you’re aiming for a slightly caramelized flavor profile!
Fun Variations for Milk – Sweetened Condensed Milk
One of the joys of baking is playing with flavors and making recipes truly your own. Our homemade Milk – Sweetened Condensed Milk is a fantastic base for all sorts of delicious twists. My friend, Clara, loves when I make a chocolate version!
- Vanilla Bean Dream: For an extra touch of gourmet elegance, split a vanilla bean and add it to the milk and sugar mixture at the start of the simmering process. Remove it before storing for a richer, more fragrant vanilla essence.
- Spiced Winter Warmth: Imagine adding a cinnamon stick, a few cardamom pods, or a star anise to the pot while it simmers. These spices infuse the milk with a subtle warmth, perfect for holiday treats or a cozy spiced latte.
- Citrus Zest Brightness: Just before it finishes cooking, stir in a teaspoon of fresh orange or lemon zest. The bright citrus notes will cut through the sweetness beautifully, adding a delightful tang that works wonderfully in key lime pies or citrus tarts.
What to Serve With Milk – Sweetened Condensed Milk
This glorious Milk – Sweetened Condensed Milk is so versatile, it’s not just an ingredient; it’s a star in its own right! I love serving it in ways that highlight its creamy richness. My mom always keeps a jar handy for her morning coffee, transforming it into a luxurious treat.
- Fruit’s Best Friend: Drizzle it generously over fresh berries, sliced bananas, or a vibrant fruit salad. The sweetness beautifully complements the tartness of the fruit.
- Coffee & Tea Companion: Stir a spoonful into your hot coffee or tea for a creamy, naturally sweet boost, much like a café-style beverage. It’s an instant upgrade!
- Pancakes & Waffles: Forget plain syrup! This homemade delight makes an incredible topping for fluffy pancakes, crispy waffles, or even French toast, adding a unique, rich sweetness.
- Ice Cream Topping: A dollop over a scoop of vanilla or coffee ice cream creates an incredibly simple yet decadent dessert.
How to Store Milk – Sweetened Condensed Milk
Once you’ve poured your heart into making this wonderful Milk – Sweetened Condensed Milk, you’ll want to make sure it stays fresh for future baking adventures! Proper storage is key to preserving its delightful flavor and creamy texture.
Fridge Storage
Store your homemade sweetened condensed milk in an airtight container or a glass jar with a tight-fitting lid in the refrigerator. It will keep beautifully for up to 2-3 weeks. I always write the date on the lid with a piece of tape, so I know exactly how fresh it is.
Freezer Tips
For longer storage, you can freeze sweetened condensed milk! Pour it into freezer-safe containers, leaving a little headspace for expansion. It will last for several months in the freezer. When you’re ready to use it, simply thaw it in the refrigerator overnight.
Reheating and Serving
If your stored milk has become too thick or solidified a bit in the fridge, you can gently warm it in a saucepan over low heat, stirring until it returns to its smooth, pourable consistency. A light whisking can also help bring it back to life!
Nutritional Benefits
While our homemade Milk – Sweetened Condensed Milk is undoubtedly a treat, it brings some simple goodness to the table too. Made primarily from whole milk, it offers a source of calcium and protein, making it a satisfyingly creamy addition to many desserts. It’s a lovely example of how combining simple, wholesome ingredients can create a delightful indulgence that’s both comforting and a little bit nourishing.
FAQs
Faq 1
Why make homemade sweetened condensed milk instead of buying it?
Homemade sweetened condensed milk offers a richer, fresher flavor without any added preservatives. It’s incredibly satisfying to make from scratch, giving you control over the ingredients and often leading to a superior taste that truly elevates your baked goods.
Faq 2
Can I use a different type of milk?
For the best results and traditional creamy texture, I highly recommend using full-fat whole milk for this homemade sweetened condensed milk. Skim or low-fat milk won’t reduce as well or achieve the same richness and body that makes the classic version so delicious.
Faq 3
How can I tell if my sweetened condensed milk is done?
Your homemade sweetened condensed milk is done when it has significantly reduced in volume (by about half), thickened to a syrupy consistency, and coats the back of a spoon. It will also have a beautiful, light ivory color. It thickens further as it cools.
Faq 4
What are some popular recipes that use homemade sweetened condensed milk?
Homemade sweetened condensed milk is perfect for so many beloved desserts! Think creamy no-bake cheesecakes, luscious fudge, key lime pie, tres leches cake, and various ice cream recipes. It’s also wonderful in Vietnamese coffee or simply drizzled over fruit.
Conclusion
There’s a special kind of joy that comes from creating something truly magical with your own hands, and this homemade sweetened condensed milk recipe is a perfect example. It’s a reminder that with a little patience and a lot of love, the simplest ingredients can transform into something extraordinary. So go ahead, embrace the warmth of your kitchen, and whisk up a batch. I promise, the sweet memories you’ll create with every delicious dessert will be truly priceless!