
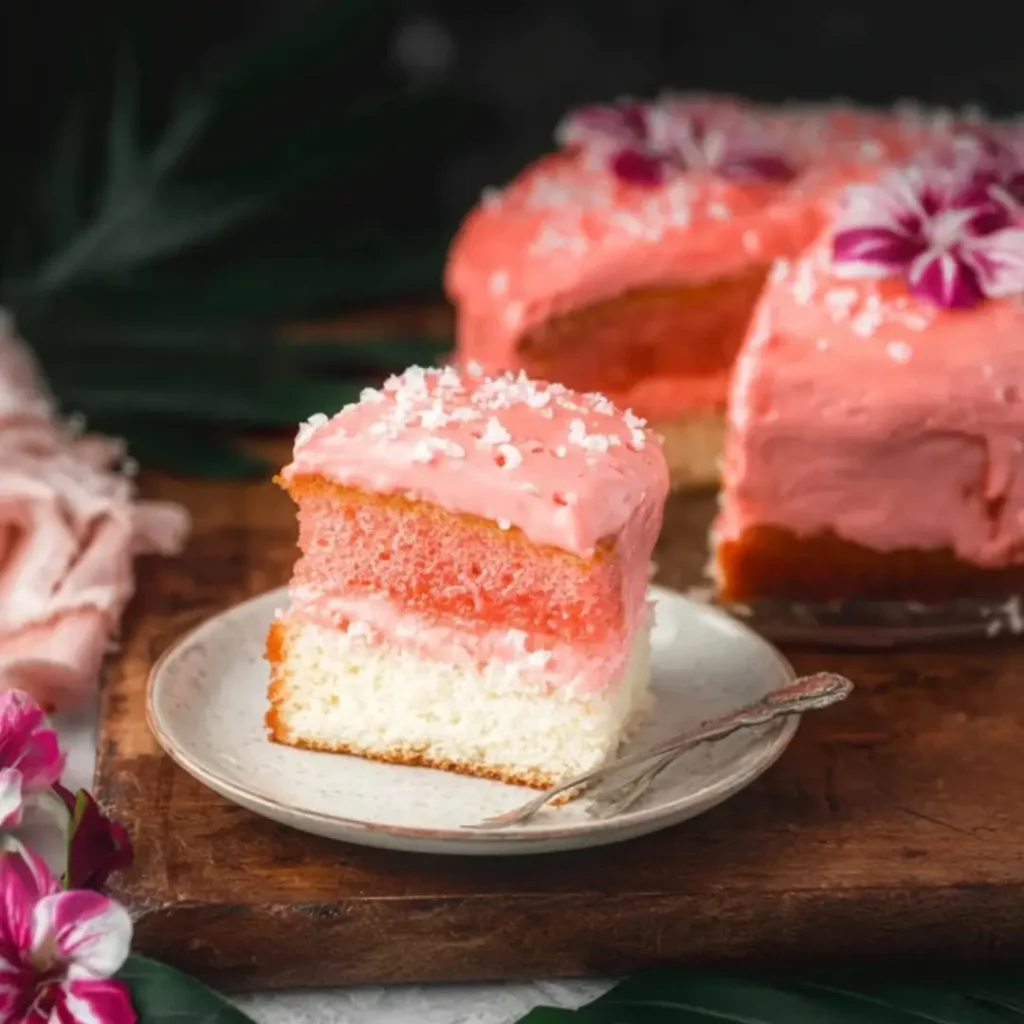
Pro Tips for Making This Hawaiian Guava Cake
Achieving that perfect, tender hawaiian guava cake with a burst of tropical flavor is all about a few thoughtful steps. I’ve learned these tricks over the years, and they always help me create a truly unforgettable dessert.
My Secret Trick: I always sift my dry ingredients twice for this cake. It’s a little extra step, but it ensures the flour, baking powder, and salt are perfectly aerated and combined, leading to an incredibly light and fluffy
hawaiian guava cakecrumb every single time.When preparing your guava filling, make sure to cook it until it’s visibly thickened and coats the back of a spoon. This ensures a stable and flavorful layer that won’t make your cake soggy. Patience is key here, my dear bakers!
For the creamiest, most spreadable cream cheese frosting, ensure both your cream cheese and unsalted butter are softened to room temperature. This prevents lumps and gives you that smooth, dreamy consistency we all adore.
Don’t be afraid to let your cake layers cool completely before frosting. I know it’s tempting to dive right in, but a fully cooled cake prevents the frosting from melting and sliding, giving you a beautiful, picture-perfect
hawaiian guava cake.
Fun Variations for Hawaiian Guava Cake
Part of the joy of baking is getting creative and making a recipe truly your own! This hawaiian guava cake is wonderfully versatile, and there are so many delightful ways to add your personal touch. My sister, for instance, always asks me to swirl in a little passion fruit puree into the guava filling for an extra tangy kick.
Tropical Twists
Consider adding a touch of pineapple or mango extract to the cake batter for a more complex tropical fruit medley. You could even fold in a small amount of finely diced, drained canned pineapple to the filling for a lovely textural contrast. A friend loves when I top the finished hawaiian guava cake with a sprinkle of toasted macadamia nuts for a delightful crunch.
Coconut Dreams
If you’re a coconut lover like I am, you’ll adore a coconut cream cheese frosting! Simply substitute a portion of the milk in the frosting with full-fat coconut milk and add a touch of coconut extract. Another idea is to sprinkle extra toasted coconut flakes between the layers of this hawaiian guava cake for an even more intense tropical experience.
A Hint of Spice
For those who enjoy a subtle warmth, a tiny pinch of cardamom or ginger in the cake batter can elevate the hawaiian guava cake to a whole new level. It’s not traditional, but it adds an intriguing depth that’s wonderfully unexpected.
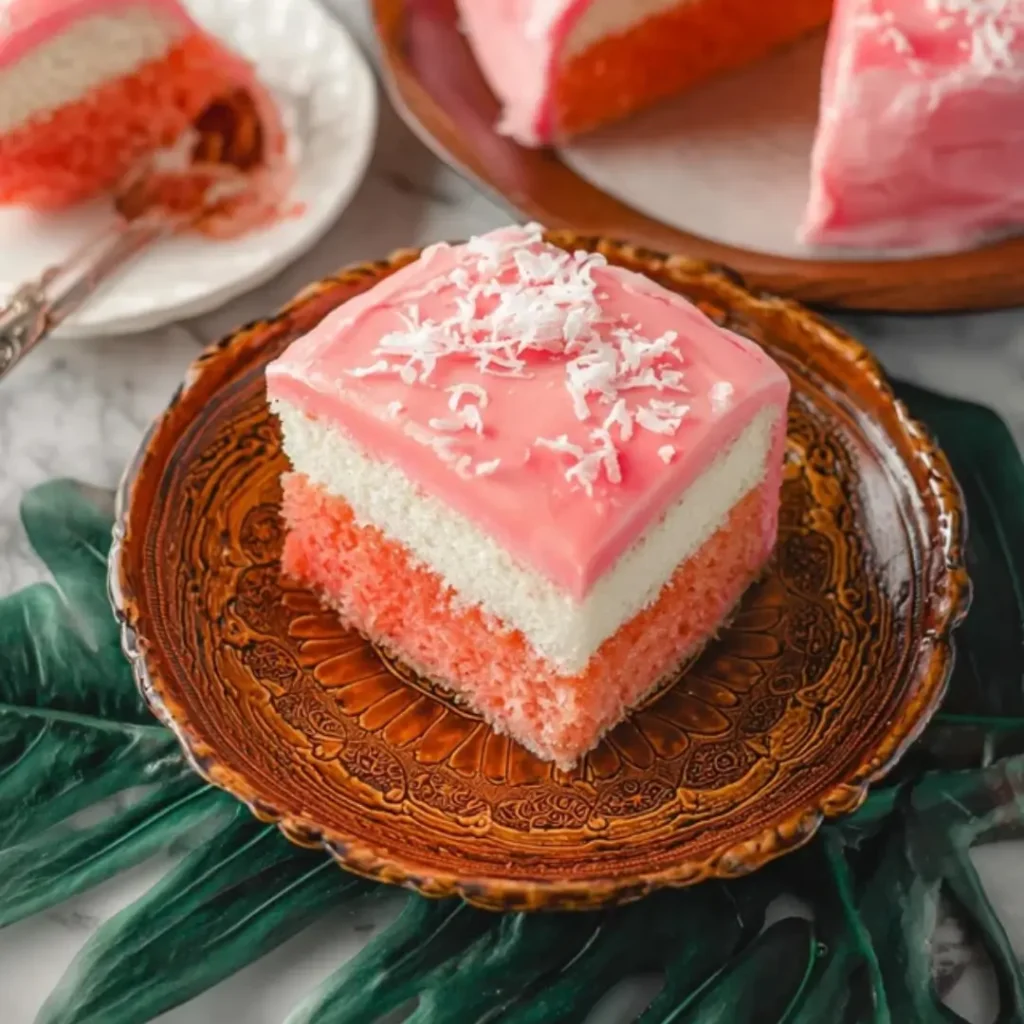
![A layered slice of {{ $('Fetch Recipe Data').first().json["Main Keyword"] }} with white cream filling and bright pink glaze.](https://tastytablekitchen.com/wp-content/uploads/2026/03/hawaiian-guava-cake-.webp)
Hawaiian Guava Dream Cake
Ingredients
Equipment
Method
- Preheat your oven to 350°F (175°C). Grease and flour two 9-inch round cake pans, then line the bottoms with parchment paper. Set aside.
- In a large bowl, whisk together the sifted flour, granulated sugar, baking powder, and salt. Make a well in the center.
- In a separate medium bowl, whisk together the whole milk, room temperature eggs, and vanilla extract.
- Add the softened butter to the dry ingredients in the large bowl. Pour about half of the wet ingredients over the butter and dry mixture. Beat with an electric mixer on low speed until just combined. Scrape down the sides of the bowl.
- Gradually add the remaining wet ingredients, mixing on medium speed until the batter is smooth and well combined, but do not overmix. Overmixing can lead to a tough cake.
- Divide the batter evenly between the two prepared cake pans. Smooth the tops with a spatula.
- Bake for 30-35 minutes, or until a wooden skewer inserted into the center comes out clean. The cakes should be lightly golden and spring back when gently pressed. (You might need to rotate them halfway through baking for even browning).
- Let the cakes cool in their pans on a wire rack for 10-15 minutes before inverting them onto the wire rack to cool completely. Remove parchment paper. Ensure cakes are completely cool before assembling, about 1-2 hours.
- In a medium saucepan, whisk together the guava nectar, granulated sugar, and cornstarch until smooth.
- Place the saucepan over medium heat and cook, stirring constantly with a whisk, until the mixture thickens and comes to a boil. It should be thick enough to coat the back of a spoon.
- Remove from heat. Stir in the fresh lime juice and the cold butter pieces until the butter is fully melted and incorporated.
- Transfer the guava filling to a heatproof bowl. Press a piece of plastic wrap directly onto the surface of the filling to prevent a skin from forming. Chill in the refrigerator for at least 1 hour, or until firm and cold.
- In a large mixing bowl, using an electric mixer, beat the softened cream cheese and softened butter together on medium speed until smooth and creamy, about 2-3 minutes. Make sure there are no lumps of cream cheese.
- Gradually add the sifted powdered sugar, 1 cup at a time, mixing on low speed until combined. Once all sugar is added, increase speed to medium-high and beat for another 2-3 minutes until the frosting is light, fluffy, and smooth.
- Stir in the vanilla extract and pinch of salt. Beat for a final 30 seconds to incorporate.
- Once the cakes are completely cool, use a serrated knife to level the tops of the cakes if necessary, creating flat surfaces.
- Place one cake layer on your serving plate or cake stand. Spread the chilled guava filling evenly over the top, leaving a small border (about 1/2 inch) around the edge.
- Carefully place the second cake layer on top of the guava filling. Gently press down to secure.
- Using an offset spatula or butter knife, spread a thin layer of cream cheese frosting over the top and sides of the entire cake (this is your crumb coat). Chill the cake in the refrigerator for 15-20 minutes to set the crumb coat.
- Once the crumb coat is set, apply the remaining cream cheese frosting evenly over the top and sides of the cake. Create decorative swirls or smooth the frosting as desired.
- If desired, garnish the top with toasted coconut flakes and fresh guava slices before serving.
Notes
What to Serve With Hawaiian Guava Cake
A slice of this exquisite hawaiian guava cake is truly a treat in itself, but sometimes, a little accompaniment can make the experience even more delightful, don’t you think? It’s like finding the perfect pair of shoes for your favorite dress!
I love serving this hawaiian guava cake with a simple scoop of vanilla bean ice cream. The cool, creamy richness of the ice cream beautifully complements the tropical fruitiness and tender crumb of the cake. Another wonderful option, especially for an afternoon pick-me-up, is a freshly brewed cup of earl grey tea or a strong cup of coffee. My mom always says a good cup of coffee really brings out the subtle notes in any sweet treat. For a touch of elegance, a few fresh lime zest curls or a small scattering of fresh berries (raspberries or blueberries work beautifully!) around the plate can add a lovely visual and a hint of tartness. And if you’re looking for a quick and easy enhancement, a light dusting of powdered sugar just before serving always makes a hawaiian guava cake look extra special!
How to Store Hawaiian Guava Cake
After all the love and effort you’ve poured into creating this beautiful hawaiian guava cake, you’ll want to ensure any leftovers stay as fresh and delicious as the first slice. Proper storage is key to preserving that wonderful flavor and texture.
Keeping it Fresh in the Fridge
Because of its delicious cream cheese frosting and fruit filling, your hawaiian guava cake will need to be stored in the refrigerator. I always recommend placing any leftover slices or the entire cake in an airtight container. This helps to keep the cake moist and prevents it from absorbing any other odors from your fridge. It will stay wonderfully fresh for up to 3-4 days.
Freezing for Later
If you want to enjoy your hawaiian guava cake for even longer, it freezes beautifully! Wrap individual slices or smaller portions tightly in plastic wrap, then place them in a freezer-safe bag or container. This will keep it fresh for up to 2-3 months. When you’re ready to enjoy, simply thaw in the refrigerator overnight and let it come to room temperature before serving for the best flavor and texture. My personal tip for reheating any cake is to let it sit at room temperature for about 30 minutes after taking it out of the fridge; it truly brings out all the wonderful flavors!
Nutritional Benefits
While this hawaiian guava cake is undeniably a treat, it also incorporates the goodness of fresh guava, which is a wonderful source of Vitamin C and fiber. It’s a reminder that even our indulgences can offer a little something extra! My approach to desserts has always been about combining joy with simple, wholesome ingredients, creating a treat that’s both satisfying and nourishing in its own sweet way.
FAQs
Faq 1
Can I use frozen guava instead of fresh for the filling?
Yes, you can! If using frozen guava, thaw it completely and drain any excess liquid before proceeding with the recipe for your hawaiian guava cake filling. This ensures the best consistency.
Faq 2
What can I substitute for guava nectar if I can’t find it?
While guava nectar provides the most authentic flavor for hawaiian guava cake, you could try a blend of mango and passion fruit nectar, or even a little peach nectar, in a pinch. The flavor profile will change slightly, but it will still be delicious!
Faq 3
My cake layers came out a bit dense. What went wrong?
Dense cake layers for your hawaiian guava cake often happen if the batter is overmixed, or if your baking powder isn’t fresh. Gentle mixing and fresh leavening agents are key to a light, airy crumb.
Faq 4
How can I prevent the frosting from being too sweet?
To balance the sweetness in your hawaiian guava cake frosting, you can add a touch more fresh lime juice to the cream cheese frosting, or even a pinch of salt, which really helps to cut through the richness.
Conclusion
And there you have it, my dear friends — a truly delightful hawaiian guava cake that’s just waiting to bring a little sunshine into your kitchen. This recipe, born from a love of tropical flavors and the simple joy of baking, is more than just a dessert; it’s an invitation to create cherished memories. So go on, gather your ingredients, put on your favorite apron, and let the sweet aroma of this beautiful cake fill your home. Happy baking, and may every slice bring you pure, unadulterated joy!