
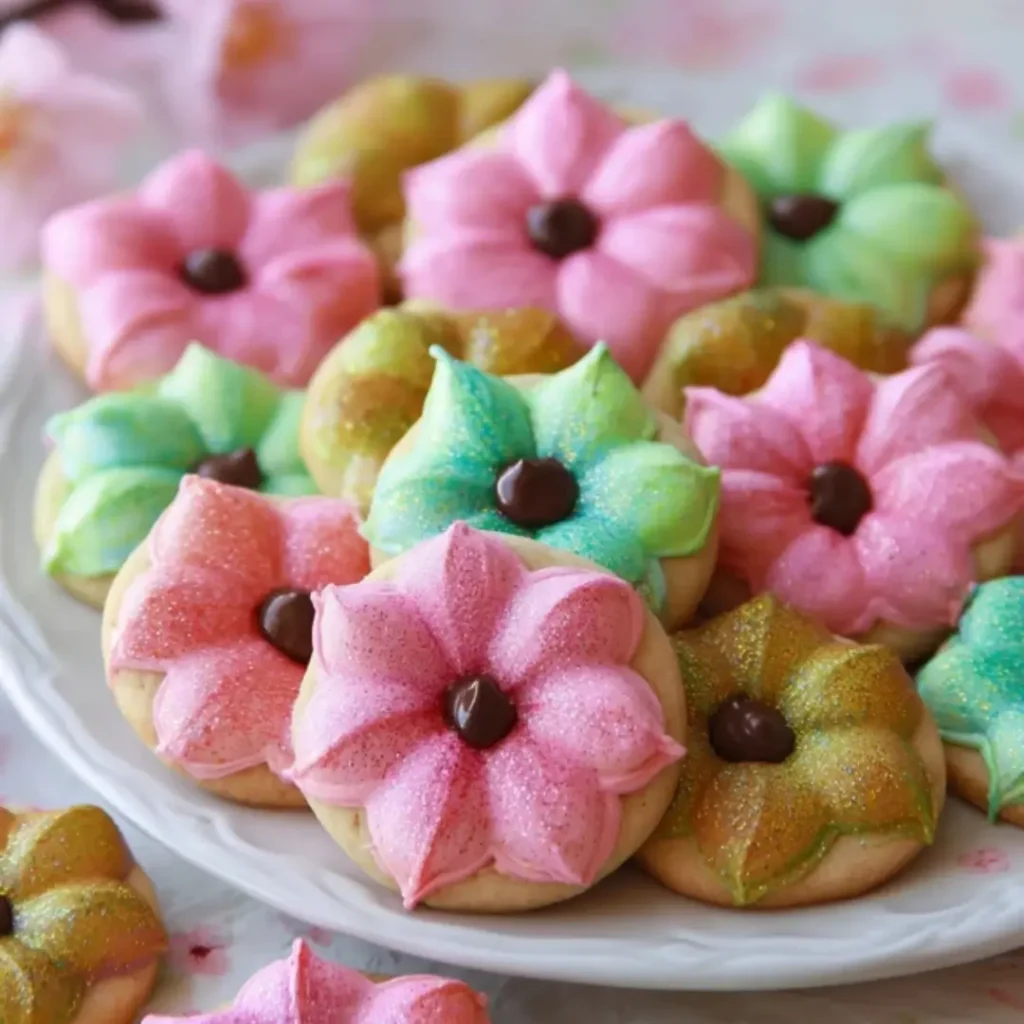
Oh, friends, there’s truly nothing quite like the delicate dance of spring in our kitchens, is there? And these spring blossom cookies capture that ephemeral beauty perfectly. With their tender crumb, hint of almond, and vibrant royal icing, they’re more than just a sweet treat; they’re a little burst of joy, a reminder of sunnier days and budding flowers, perfect for any spring celebration. Baking them brings such a delightful aroma to the home, making every moment feel special.
I remember childhood afternoons in Grandma’s kitchen, the scent of vanilla and butter always in the air as she guided my small hands through rolling dough. It was there I learned that the simplest ingredients, combined with a sprinkle of love and a dash of patience, could create pure magic. These cookies evoke that same sweet nostalgia, a taste of simpler times and cherished memories made around the family table.
This recipe is wonderfully approachable, making it a fantastic project for bakers of all skill levels, and it’s always a crowd-pleaser at family gatherings. The joy of decorating them is a reward in itself, a moment to unleash your inner artist! My top tip? Always have your ingredients at room temperature for the creamiest butter and sugar blend.
What You Need to Make This Recipe
Crafting these delightful cookies begins with a few pantry staples that, when combined with care, transform into tender, flavorful spring blossom cookies. We’re talking about simple yet essential ingredients like all-purpose flour for structure, rich unsalted butter for that melt-in-your-mouth texture, and a touch of vanilla and almond extracts that truly sing of spring. I always reach for high-quality extracts; they make such a difference in the final flavor profile. You’ll find the full list of ingredients and precise measurements waiting for you in the recipe card below.
How to Make spring blossom cookies
Making these spring blossom cookies is a journey of sweet anticipation, broken down into lovely, manageable steps. First, we’ll whisk together the dry ingredients, then cream butter and sugar until fluffy, before gently combining everything to create that perfect dough. Once chilled and baked to a golden perfection, the real fun begins: preparing a smooth royal icing and delicately decorating each cookie to resemble a blossoming spring flower.

Spring Blossom Sugar Cookies
Ingredients
Equipment
Method
- In a medium bowl, whisk together the all-purpose flour, baking powder, and salt. Set aside.
- In the bowl of a stand mixer fitted with the paddle attachment (or using a hand mixer), cream together the softened unsalted butter and granulated sugar on medium speed until light and fluffy, about 2-3 minutes.
- Add the large egg, vanilla extract, and almond extract (if using). Beat until well combined, scraping down the sides of the bowl as needed.
- Gradually add the dry ingredients to the wet ingredients, mixing on low speed until just combined and a soft dough forms. Be careful not to overmix.
- Divide the dough in half, flatten each half into a disc, wrap tightly in plastic wrap, and refrigerate for at least 30 minutes (or up to 2 days). Chilling is crucial for easy rolling and preventing spread.
- Preheat your oven to 375°F (190°C). Line two baking sheets with parchment paper.
- On a lightly floured surface, roll out one disc of chilled dough to about 1/4 inch thickness. Use various flower-shaped cookie cutters to cut out shapes. Carefully transfer the cut cookies to the prepared baking sheets, spacing them about 1 inch apart.
- Bake for 8-10 minutes, or until the edges are lightly golden. The centers should still be soft. Baking time may vary slightly depending on cookie size and oven. Do not overbake.
- Let the cookies cool on the baking sheets for 5 minutes before transferring them to a wire rack to cool completely. Repeat with the remaining dough, gathering and re-rolling scraps as needed.
- In a large bowl, combine the sifted powdered sugar and meringue powder. Gradually add the warm water, mixing on low speed with a hand mixer or stand mixer until smooth. Increase speed to medium-high and beat for 5-7 minutes until the icing is thick and glossy, forming stiff peaks. If it’s too thick, add water 1 teaspoon at a time; if too thin, add more powdered sugar.
- Divide the royal icing into several small bowls. Keep one bowl white (for outlining if desired), and tint the others with gel food coloring: pink for petals, yellow for centers, and green for leaves. Cover bowls with damp paper towels or plastic wrap immediately to prevent crusting.
- For outlining and details, keep the icing thicker (like toothpaste). For flooding, thin a portion of each colored icing by adding tiny amounts of water until it reaches a ’10-second consistency’ (when a line drawn through it disappears in about 10 seconds).
- Transfer the various icing consistencies to separate piping bags fitted with small round tips (#1-3). For leaf details, use a leaf tip (#352) with green icing.
- **Outline:** Using the thicker icing, outline the edges of your cooled flower cookies with pink icing.
- **Flood:** Immediately fill the outlined area with the thinner pink icing. Use a small offset spatula or a clean toothpick to gently spread the icing to the edges and pop any air bubbles. Let the flooded base layer dry completely for at least 1-2 hours, or ideally overnight, before adding details.
- **Add Details:** Once the pink base is dry, use yellow icing to pipe a small dot or swirl in the center of each flower for the stamen. With green icing, pipe small leaves around the base of the flower using a leaf tip, or pipe small dots for a ‘branch’ effect.
- Allow all decorated cookies to dry completely for several hours or overnight before stacking or storing.
Notes
Pro Tips for Making This spring blossom cookies
Achieving bakery-quality spring blossom cookies at home is all about those little touches and tricks I’ve picked up over the years. These aren’t just recipes; they’re traditions, and a little wisdom goes a long way!
My secret trick: I always chill my cookie dough for at least 30 minutes, or even an hour, before rolling it out. This ensures the butter is firm, which helps prevent spreading in the oven, giving you perfectly shaped spring blossom cookies every time.
When it comes to decorating, don’t rush the royal icing! Make sure it’s the right consistency for both outlining and flooding. I always keep a spray bottle of water nearby to adjust the thickness drop by drop. It’s a game-changer for smooth, even finishes.
For vibrant colors, I recommend using gel food coloring. Just a tiny bit goes a long way, and it won’t thin out your icing like liquid dyes can. It’s truly the best way to bring those beautiful spring hues to life on your spring blossom cookies.
Lastly, baking times can vary slightly from oven to oven. I always keep a close eye on the edges of my cookies; as soon as they start to turn a light golden brown, I know they’re ready to come out. Overbaking can lead to dry cookies, and we want soft, tender treats!
Fun Variations for spring blossom cookies
One of the greatest joys of baking is letting your creativity bloom, just like the lovely spring blossom cookies themselves! Don’t be shy about experimenting with flavors and decorations to make them uniquely yours.
Zesty Citrus Blossoms
For a bright, refreshing twist, try adding a teaspoon of finely grated lemon or orange zest to your cookie dough. The citrus aroma adds a lovely counterpoint to the sweetness, making your spring blossom cookies taste even more vibrant and truly fitting for the season. My sister, Clara, always asks me to add lemon zest when I make these!
Spice It Up
While these are traditionally a delicate flavor, a pinch of cardamom or a whisper of ginger in the dough can add a sophisticated warmth that’s surprisingly delightful. Start with just 1/4 teaspoon and adjust to your taste. This is a cozy secret I learned from an old baking book!
A Dash of Floral Essence
Beyond almond extract, consider adding a tiny drop of culinary rosewater or lavender extract to your royal icing for an authentic floral note. Remember, a little goes a very long way with these potent essences, so add sparingly! A friend of mine who loves all things botanical absolutely adores this variation.
What to Serve With spring blossom cookies
These delightful spring blossom cookies are truly a celebration in themselves, but pairing them with the right accompaniments can elevate any gathering into a truly memorable event.
For a classic pairing, I love serving these delicate treats with a warm cup of herbal tea or a freshly brewed coffee. The gentle bitterness of the coffee or the soothing notes of the tea beautifully complement the sweet and almondy flavors of the cookies. It’s a simple pleasure that feels just right.
Another wonderful option, especially for a spring brunch, is to present them alongside a bowl of fresh, seasonal berries – think ripe strawberries, blueberries, or raspberries. The tartness of the fruit offers a lovely contrast to the sweetness of the royal icing. My mom always says fresh berries make any dessert feel lighter and more elegant.
And if you’re looking for something a bit more decadent, a small scoop of homemade vanilla bean ice cream or a dollop of softly whipped cream would be absolutely divine. The cool creaminess against the tender cookie is a match made in heaven. For a quick serving idea, a simple glass of cold milk is always a comforting and beloved choice!
How to Store spring blossom cookies
To keep your beautiful spring blossom cookies tasting as fresh and lovely as the day you baked them, proper storage is key. We want to preserve that tender crumb and perfectly set icing!
Once the royal icing has fully dried and hardened (this can take several hours, or even overnight, depending on humidity), store the cookies in an airtight container at room temperature. Layer them gently between sheets of parchment paper to prevent any sticking or damage to the delicate decorations. They will stay fresh and delicious for up to a week this way. I always make sure my container seals well; it’s my secret to keeping cookies moist and flavorful!
For longer storage, spring blossom cookies can also be frozen. After the icing is completely dry, place them in a single layer on a baking sheet and freeze until solid. Then, transfer the frozen cookies to a freezer-safe airtight container, again using parchment paper between layers. They can be frozen for up to 2-3 months. To enjoy, simply thaw them at room temperature. A light dusting of edible glitter after thawing brings them back to life with a sparkle!
Nutritional Benefits
While these spring blossom cookies are undoubtedly a sweet indulgence, they’re also crafted with simple, wholesome ingredients you can feel good about. Made with real butter and eggs, they offer a delightful treat that’s both satisfying and provides a touch of energy. It’s my belief that desserts can be a joyful part of a balanced life, and these spring blossom cookies embody that perfectly, bringing smiles with every bite.
FAQs
Faq 1
Can I make the dough for spring blossom cookies ahead of time?
Absolutely! You can prepare the dough for these spring blossom cookies up to 2-3 days in advance. Wrap it tightly in plastic wrap and store it in the refrigerator. This allows the flavors to meld beautifully and makes bake day a breeze.
Faq 2
What if I don’t have almond extract for the spring blossom cookies?
If almond extract isn’t available, you can simply use extra vanilla extract. While the almond adds a distinctive flavor to these spring blossom cookies, they will still be utterly delicious with just vanilla. You could also try a hint of lemon zest!
Faq 3
How do I prevent my spring blossom cookies from spreading too much?
To keep your spring blossom cookies from spreading, ensure your butter isn’t too warm and always chill your dough for at least 30 minutes before rolling and cutting. Also, don’t overcrowd your baking sheets!
Faq 4
Can I use royal icing from a mix for these spring blossom cookies?
Yes, absolutely! Using a high-quality royal icing mix is a fantastic time-saver, especially if you’re new to decorating. Just follow the package directions for consistency, and your spring blossom cookies will look beautiful.
Conclusion
Baking these spring blossom cookies is more than just following a recipe; it’s an invitation to create, to celebrate, and to share a little piece of your heart. From the comforting warmth of your kitchen to the delighted smiles of those you share them with, these delicate treats embody the very essence of joyful, home-baked desserts that create lasting memories. So, gather your ingredients, put on your favorite apron, and let’s bake some magic together. I can’t wait to hear how your spring blossom cookies brighten your spring!