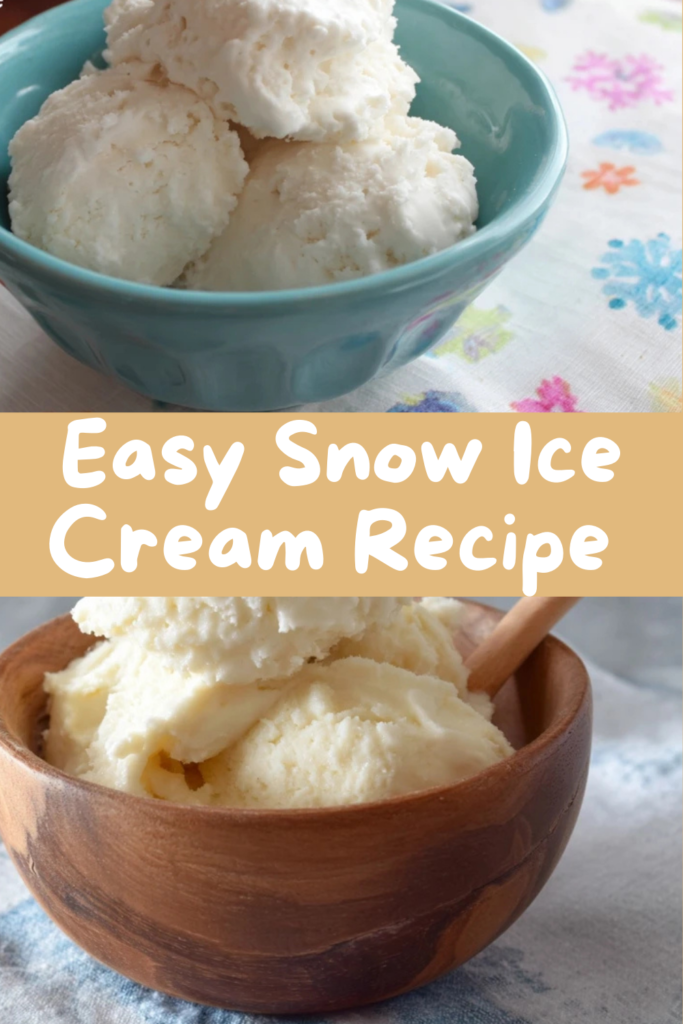
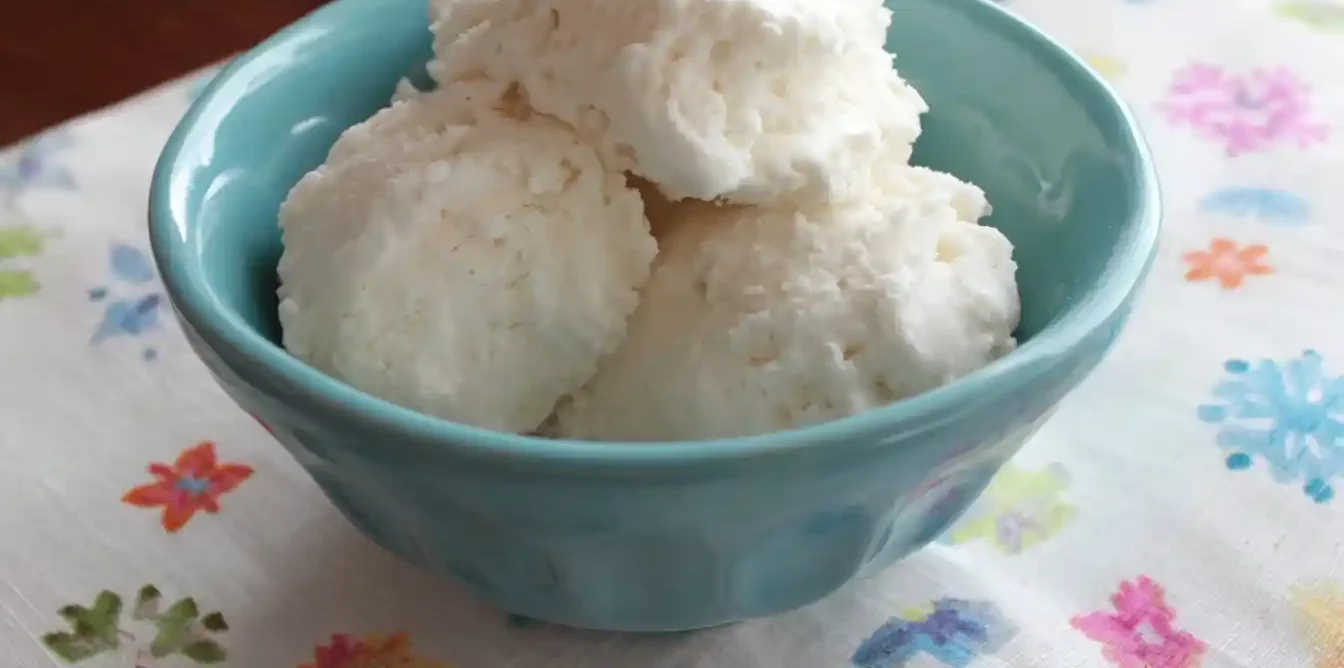
Oh, friends, there’s something truly magical about transforming a fresh blanket of snow into a sweet, creamy treat, isn’t there? This Easy Snow Ice Cream Recipe (Without Sweetened Condensed Milk) is more than just a dessert; it’s a whimsical journey back to simpler times, a delightful reminder that sometimes the best ingredients are found right outside our door. Imagine a spoonful of fluffy, vanilla-kissed goodness that melts effortlessly on your tongue – pure winter joy!
I remember those frosty afternoons in Grandma’s kitchen, watching the snow fall gently outside. She’d always have a bowl ready, waiting to gather the purest, freshest flakes, and with a little milk and sugar, we’d whip up something truly special. It wasn’t just about the ice cream; it was about the shared laughter, the warmth of her kitchen, and the sheer delight of creating something sweet from nature’s bounty.
This recipe is wonderfully simple to make, perfect for an impromptu family treat, and a beautiful way to create new memories in your own kitchen. It truly shows that baking (or in this case, un-baking!) doesn’t have to be complicated to be absolutely delicious. My best advice for any spontaneous treat? Always have your vanilla extract and a good whisk ready!
What You Need to Make This Recipe
To bring this delightful dessert to life, we’re relying on the freshest fallen snow and just a few pantry staples. Whole milk gives this Easy Snow Ice Cream Recipe (Without Sweetened Condensed Milk) its wonderful creaminess, while a kiss of vanilla extract elevates the simple sweetness. It’s truly a testament to how humble ingredients can create something extraordinary. You’ll find the full list of ingredients and precise measurements in the recipe card below.
How to Make Easy Snow Ice Cream Recipe (Without Sweetened Condensed Milk)
Crafting this delightful treat is wonderfully straightforward, making it perfect for those spontaneous sweet cravings on a snowy day. At its heart, this Easy Snow Ice Cream Recipe (Without Sweetened Condensed Milk) involves gently whisking together whole milk, sugar, a touch of vanilla, and a pinch of salt until everything is beautifully combined. Then, we lovingly fold in freshly collected, pristine snow, watching as it transforms into a fluffy, dreamy ice cream right before our eyes. It’s a truly enchanting process that’s as fun to make as it is to eat!
Easy Snow Ice Cream (No Condensed Milk)
Ingredients
Equipment
Method
- Quickly collect 8-10 cups of fresh, clean, white, fluffy snow into a large mixing bowl. The colder the snow, the better, as it will prevent it from melting too fast.
- In a separate small bowl or measuring cup, whisk together the whole milk (or half-and-half), granulated sugar, vanilla extract, and a pinch of salt until the sugar is mostly dissolved.
- Pour the prepared milk mixture slowly and evenly over the collected snow in the large mixing bowl.
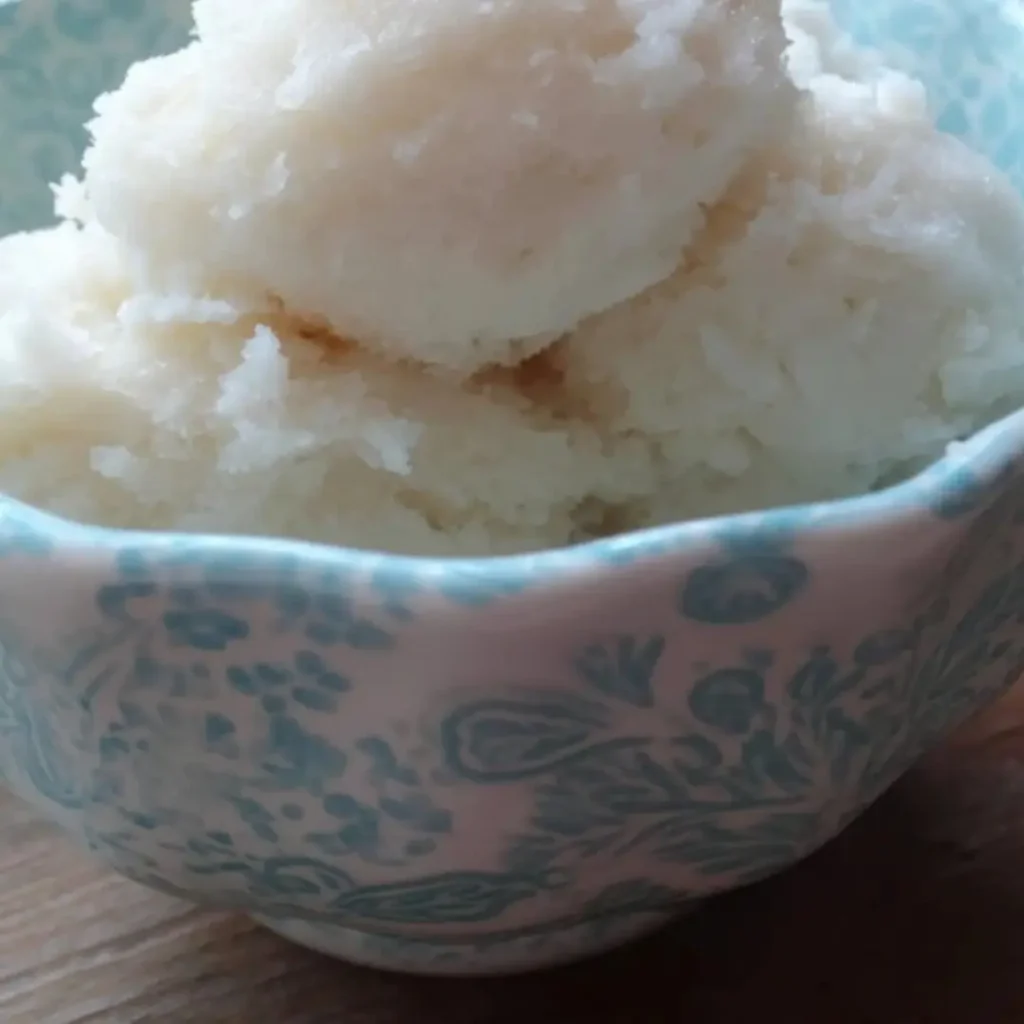
- Immediately and gently fold the mixture with a whisk or spatula. Mix just enough until all the liquid is incorporated and you achieve a consistent, creamy snow ice cream texture. Be careful not to overmix, as the snow will melt quickly. Scoop into individual bowls and serve immediately. Add your favorite toppings if desired.
Notes
Pro Tips for Making This Easy Snow Ice Cream Recipe (Without Sweetened Condensed Milk)
Making snow ice cream is all about embracing the fun and the magic, but a few little tricks I’ve learned over the years can make your Easy Snow Ice Cream Recipe (Without Sweetened Condensed Milk) truly sparkle.
Firstly, always gather fresh, clean snow from an undisturbed area, preferably after a recent snowfall. Think of it like foraging for the freshest berries – the purer the source, the better the end result! I always grab snow from a spot in my backyard that hasn’t been walked on.
My Secret Trick: I always make sure my milk and sugar mixture is thoroughly chilled before adding the snow. This helps prevent the snow from melting too quickly, allowing for that perfect, fluffy texture we all adore. Pop your bowl of liquid ingredients in the fridge for 15-20 minutes before you start.
Don’t overmix! Once you add the snow, gently fold it in until just combined. Overworking it can cause the snow to melt too much, resulting in a less icy texture. We’re aiming for light and airy, like a cloud!
Finally, work quickly! Snow ice cream is a fleeting pleasure, best enjoyed immediately. Have your bowls and spoons ready, and perhaps a sprinkle of your favorite topping, because this delightful treat won’t wait.
Fun Variations for Easy Snow Ice Cream Recipe (Without Sweetened Condensed Milk)
One of the joys of baking, or in this case, creating a chilly treat, is making it your own! This Easy Snow Ice Cream Recipe (Without Sweetened Condensed Milk) is a fantastic canvas for playful twists. My grandmother always said, “A recipe is just a starting point for your imagination!”
Chocolate Lover’s Dream
For the chocolate enthusiasts, a simple swirl of cocoa powder or a drizzle of chocolate syrup folded into the milk mixture works wonders. A friend of mine always asks me to add a few mini chocolate chips for an extra cocoa kick – it’s delightfully decadent!
Fruity Freshness
Imagine a vibrant berry swirl! You can gently mash a handful of fresh or frozen berries (like raspberries or blueberries), mix them with a tiny bit of sugar, and swirl them into your snow ice cream. It adds a lovely tartness and beautiful color.
Minty Magic
A drop or two of food-grade peppermint extract can transform this into a refreshing mint snow ice cream, especially lovely during the holidays. My sister adores this version, often topping it with crushed candy canes!
Cozy Spiced Version
For a warming twist, a tiny pinch of ground cinnamon or nutmeg added to the milk mixture can evoke cozy, nostalgic feelings. It’s like a hug in a bowl!
What to Serve With Easy Snow Ice Cream Recipe (Without Sweetened Condensed Milk)
This delightful Easy Snow Ice Cream Recipe (Without Sweetened Condensed Milk) is absolutely divine on its own, but sometimes a little something extra just makes the experience even more special. Think of it as creating a full dessert moment!
I love serving it simply with a sprinkle of colorful sprinkles – they add a joyful pop that reminds me of childhood birthday parties. Another lovely pairing is a warm drizzle of chocolate fudge sauce or caramel sauce. The contrast of the cold, fluffy snow ice cream with a warm, gooey topping is simply irresistible!
My mom always says a good cup of hot cocoa or herbal tea is the perfect accompaniment, especially if you’re enjoying this treat on a chilly day. It provides a wonderful balance. And for a truly decadent touch, a dollop of freshly whipped cream and a few fresh berries can elevate this simple dessert into something truly elegant.
How to Store Easy Snow Ice Cream Recipe (Without Sweetened Condensed Milk)
While this delightful Easy Snow Ice Cream Recipe (Without Sweetened Condensed Milk) is truly best enjoyed immediately, sometimes you might have a tiny bit left over, or you want to save a little magic for later. Here’s how I handle it:
Short-Term Storage
If you have a small amount leftover, you can carefully transfer it to an airtight freezer-safe container. While it won’t retain the exact same light, fluffy texture it has when freshly made (the snow crystals will compact and become icier), it will still be a delicious, frosty treat. I find it’s best eaten within an hour or two if storing this way.
Reheating (or rather, Re-serving)
There’s no true “reheating” for snow ice cream! If it does get a bit icy after a short stint in the freezer, you can let it sit at room temperature for just a minute or two to soften slightly before serving. My personal tip for making it feel special again is to give it a quick stir with a fork to break up any ice crystals and then add fresh toppings – it always helps to bring it back to life!
Nutritional Benefits
While any dessert is primarily about enjoyment, this Easy Snow Ice Cream Recipe (Without Sweetened Condensed Milk) offers a simple pleasure. Made with whole milk, it provides a source of calcium and vitamin D, and with naturally sourced snow, it’s a pure treat. It embodies my philosophy of creating desserts that are both satisfying and made with wholesome, straightforward ingredients, bringing a delightful balance to your sweet moments.
FAQs
Can I use store-bought ice instead of fresh snow?
Unfortunately, no. Store-bought ice or even freezer-made ice cubes won’t give you the light, fluffy texture that freshly fallen, untouched snow does. The magic of this Easy Snow Ice Cream Recipe (Without Sweetened Condensed Milk) truly relies on that unique, delicate structure of real snow.
What kind of snow is best for this recipe?
Always use fresh, clean, white snow from an undisturbed area. Avoid snow that has been on the ground for a while, looks discolored, or has been exposed to foot traffic or pollutants. Pristine, powdery snow is ideal for your Easy Snow Ice Cream Recipe (Without Sweetened Condensed Milk).
How long does it take for snow ice cream to freeze?
This recipe doesn’t involve traditional freezing time! The snow ice cream is ready to enjoy as soon as you gently fold the fresh snow into the chilled milk mixture. It’s an instant gratification dessert, perfect for spontaneous moments of sweetness.
Can I make this recipe vegan?
You certainly can! To make an Easy Snow Ice Cream Recipe (Without Sweetened Condensed Milk) that’s vegan-friendly, simply substitute the whole milk with your favorite unsweetened non-dairy milk, such as almond, oat, or soy milk. The process remains the same, ensuring everyone can enjoy this delightful treat.
Conclusion
There’s a special kind of warmth that comes from creating something sweet in your own kitchen, especially when it’s as simple and enchanting as this Easy Snow Ice Cream Recipe (Without Sweetened Condensed Milk). It’s a wonderful reminder that the best desserts are often the ones that connect us to nature, to our memories, and to the joy of sharing. I truly hope this recipe inspires you to gather your loved ones, embrace the magic of a snowy day, and create some sweet, heartwarming memories together. Happy “baking”!